
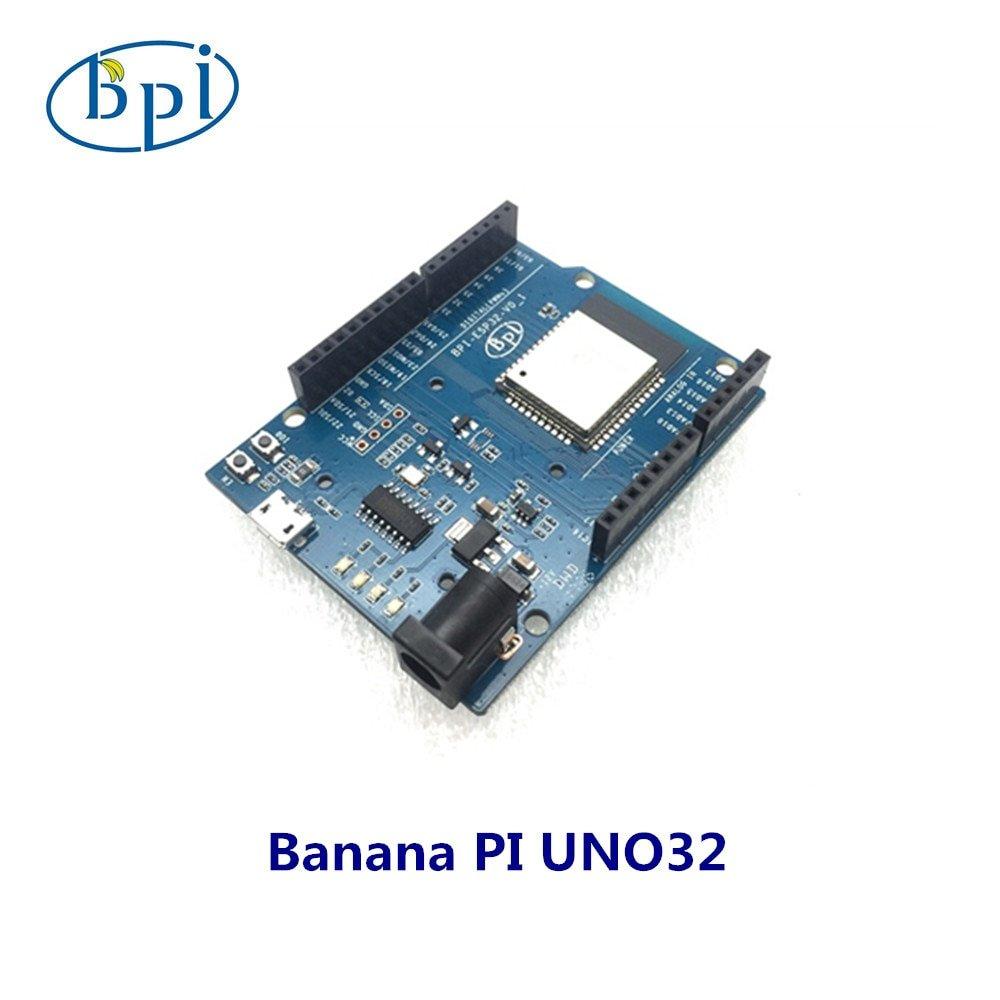
In this article we look at another ESP32 based product, this time its called the BPI:UNO32.
The microcontroller for this board is an ESP32 with Xtensa 32bit LX6 single/dual-core processor based embedded system.
Here is a picture of the board, as you can see it would called an ‘Arduino compatible’ board with the addition of an RGB LED, a buzzer, 2 buttons.
This makes it a nice development board for beginners
Technical Information
| Technical specs | |||
| CPU | Xtensa® 32-bit LX6 single / dual core processor | ||
| ROM | 448KB | ||
| SRAM | 520KB | ||
| Flash | 4MB(Onboard),A maximum of 4 Flash/SRAM, each Flash maximum 16MB | ||
| Power | 5V@1A micro USB power or 5.5mm 12V DC port | ||
| GPIO | 12-bits SAR ADC 18 channel, 2\*8-bit D/A converter, 4*SPI, 2*I2S, 2*I2C, 3*UART, Host SD/eMMC/SDIO, Slave SDIO/SPI | ||
| Wi-Fi | 802.11 b/g/n/e/i 802.11 n\(2.4GHz 150Mbps\) 802.11 e\(Quality of Service\) | ||
| Bluetooth | BT4.2 & BLE | ||
| Buzzer | Passive buzzer | ||
| LEDs | RGB LED/POWER LED/Receive LED/Transmit LED | ||
| Arduino IDE Definitions | |
| Function | IO |
|---|---|
| RGB_LED | IO4 |
| RGB_LED_POWER | IO2 |
| BUZZER | IO25 |
| BOTTON_A | IO35 |
| BOTTON_B | IO27 |
| Communication Protocol | |
| SPI | |
| MISO | IO19 |
| MOSI | IO23 |
| SCK | IO23 |
| SS | IO5 |
| I2C | |
| SCL | IO22 |
| SDA | IO21 |
Part Information
The board comes in at about $14
Development
You can use the Arduino IDE, Micropython and also webbit (similar to Microbit)
Install the ESP32 support using the Boards manager
Installation instructions using Arduino IDE Boards Manager
- Stable release link:
https://raw.githubusercontent.com/espressif/arduino-esp32/gh-pages/package_esp32_index.json - Development release link:
https://raw.githubusercontent.com/espressif/arduino-esp32/gh-pages/package_esp32_dev_index.json
Starting with 1.6.4, Arduino allows installation of third-party platform packages using Boards Manager. We have packages available for Windows, Mac OS, and Linux (32, 64 bit and ARM).
- Install the Arduino IDE at the 1.8 level or later. The current version is at the Arduino website.
- Start Arduino and open Preferences window.
- Enter one of the release links above into Additional Board Manager URLs field. You can add multiple URLs, separating them with commas.
- Open Boards Manager from Tools > Board menu and install esp32 platform (and don’t forget to select your ESP32 board from Tools > Board menu after installation).
In the board manager find the BPI:bit and select the correct serial port
Here is some demo code – it also had a buzzer test which I removed
[codesyntax lang=”cpp”]
#include <Arduino.h>
#include "WiFi.h"

#define LEDC_CHANNEL_0 0
#define LEDC_TIMER_13_BIT 13
#define LEDC_BASE_FREQ 450
#define Buzzer 25

const char *ssid = "SSID";
const char *password = "PASSWD";

const uint16_t PixelCount = 25;
const uint8_t PixelPin = 4;

#define colorSaturation 255
#define delay_ms 500

#define bout 3

#define LEDC_CHANNEL_1 1
#define LEDC_CHANNEL_2 2
#define LEDC_CHANNEL_3 3
#define LEDC_LED_FREQ 10000
#define LEDR 17
#define LEDG 16
#define LEDB 27

#define AD10 36 //ADC1_CH0
#define AD13 39 //ADC1_CH3
#define AD14 32 //ADC1_CH4
#define AD15 33 //ADC1_CH5
#define AD16 34 //ADC1_CH6
#define AD17 35 //ADC1_CH7

int AD_Value0 = 0;
int AD_Value3 = 0;
int AD_Value4 = 0;
int AD_Value5 = 0;
int AD_Value6 = 0;
int AD_Value7 = 0;

int adTestFreq = 0;
int wifiTestFreq = 0;
int ledTestFreq = 0;
int buzzerTestFreq = 0;

int brightness = 0;
int fadeAmount = 5;

void ledcAnalogWrite(uint8_t channel, uint32_t value)
{
// calculate duty, 8191 from 2 ^ 13 - 1 (2 ^ LEDC_TIMER_13_BIT - 1)
//value_MAX = 255
uint32_t duty = (8191 / 255) * value;
// write duty to LEDC
ledcWrite(channel, duty);
}

void setup()
{
Serial.begin(115200); //Serial Port Config 115200-8-N-1
while (!Serial)
    ; // wait for serial attach

Serial.println();
Serial.println("Initializing...");
Serial.flush();

Serial.println();
Serial.println("BPI-uno32 Function Test Demo");
Serial.println("Running...");
Serial.println();

ledcSetup(LEDC_CHANNEL_0, LEDC_BASE_FREQ, LEDC_TIMER_13_BIT);
ledcSetup(LEDC_CHANNEL_1, LEDC_LED_FREQ, LEDC_TIMER_13_BIT);
ledcSetup(LEDC_CHANNEL_2, LEDC_LED_FREQ, LEDC_TIMER_13_BIT);
ledcSetup(LEDC_CHANNEL_3, LEDC_LED_FREQ, LEDC_TIMER_13_BIT);

ledcAttachPin(Buzzer, LEDC_CHANNEL_0);
ledcAttachPin(LEDR, LEDC_CHANNEL_1);
ledcAttachPin(LEDG, LEDC_CHANNEL_2);
ledcAttachPin(LEDB, LEDC_CHANNEL_3);
}

void loop()
{
/**************************************************************
   **************************************************************
   ***Board:BPI:uno32-Webduino                                ***
   ***Function:RGB_LED Test                                   ***
   **************************************************************
   *************************************************************/
Serial.println();
Serial.println("LED test!!!");
Serial.println();
//LED_R fading
Serial.println("LED_R is fading");
for (ledTestFreq = 0; ledTestFreq < bout; ledTestFreq++)
{
    for (brightness = 0; brightness < 255; brightness++)
    {
        Serial.print(".");
        // set the brightness on LEDC channel 0
        ledcAnalogWrite(LEDC_CHANNEL_1, brightness);

        // change the brightness for next time through the loop:
        brightness = brightness + fadeAmount;

        // reverse the direction of the fading at the ends of the fade:
        if (brightness <= 0 || brightness >= 255)
        {
            fadeAmount = -fadeAmount;
        }
        // wait for 30 milliseconds to see the dimming effect
        delay(30);
    }
    Serial.println();
    ledcAnalogWrite(LEDC_CHANNEL_1, 0);
}
//LED_G fading
Serial.println("LED_G is fading");
for (ledTestFreq = 0; ledTestFreq < bout; ledTestFreq++)
{
    for (brightness = 0; brightness < 255; brightness++)
    {
        Serial.print(".");
        // set the brightness on LEDC channel 0
        ledcAnalogWrite(LEDC_CHANNEL_2, brightness);

        // change the brightness for next time through the loop:
        brightness = brightness + fadeAmount;

        // reverse the direction of the fading at the ends of the fade:
        if (brightness <= 0 || brightness >= 255)
        {
            fadeAmount = -fadeAmount;
        }
        // wait for 30 milliseconds to see the dimming effect
        delay(30);
    }
    Serial.println();
    ledcAnalogWrite(LEDC_CHANNEL_2, 0);
}
//LED_B fading
Serial.println("LED_B is fading");
for (ledTestFreq = 0; ledTestFreq < bout; ledTestFreq++)
{
    for (brightness = 0; brightness < 255; brightness++)
    {
        Serial.print(".");
        // set the brightness on LEDC channel 0
        ledcAnalogWrite(LEDC_CHANNEL_3, brightness);

        // change the brightness for next time through the loop:
        brightness = brightness + fadeAmount;

        // reverse the direction of the fading at the ends of the fade:
        if (brightness <= 0 || brightness >= 255)
        {
            fadeAmount = -fadeAmount;
        }
        // wait for 30 milliseconds to see the dimming effect
        delay(30);
    }

    Serial.println();
    ledcAnalogWrite(LEDC_CHANNEL_3, 0);
}
Serial.println("--Over--");

/**************************************************************
   **************************************************************
   ***Board:BPI:uno32-Webduino                                ***
   ***Function:ADC(channel_1) Test                            ***
   **************************************************************
   *************************************************************/
Serial.println();
Serial.println("ADC test!!!");
Serial.println();
for (adTestFreq = 0; adTestFreq < bout; adTestFreq++)
{
    // turn the LED on (HIGH is the voltage level)
    AD_Value0 = analogRead(AD10);
    AD_Value3 = analogRead(AD13);
    AD_Value4 = analogRead(AD14);
    AD_Value5 = analogRead(AD15);
    AD_Value6 = analogRead(AD16);
    AD_Value7 = analogRead(AD17);

    //AD10-Pin:IO36
    Serial.print("AD10:");
    Serial.print(AD_Value0);
    Serial.println();

    //AD13-Pin:IO39
    Serial.print("AD13:");
    Serial.print(AD_Value3);
    Serial.println();

    //AD14-Pin:IO32
    Serial.print("AD14:");
    Serial.print(AD_Value4);
    Serial.println();

    //AD15-Pin:IO33
    Serial.print("AD15:");
    Serial.print(AD_Value5);
    Serial.println();

    //AD16-Pin:IO34
    Serial.print("AD16:");
    Serial.print(AD_Value6);
    Serial.println();

    //AD17-Pin:IO35
    Serial.print("AD17:");
    Serial.print(AD_Value7);
    Serial.println();

    Serial.println();
    Serial.println();
    delay(1000);
}

Serial.println("--Over--");

/**************************************************************
   **************************************************************
   ***Board:BPI:uno32-Webduino                                ***
   ***Function:Wi-Fi Test                                     ***
   **************************************************************
   *************************************************************/
Serial.println();
Serial.println("Wi-Fi test!!!");
Serial.println();

// //Wi-Fi connect
// Serial.print("Connecting to ");
// Serial.println(ssid);
// WiFi.begin(ssid, password);
// while (WiFi.status() != WL_CONNECTED)
// {
//     delay(500);
//     Serial.print(".");
// }
// Serial.println("WiFi connected");
// Serial.println("IP address: ");
// Serial.println(WiFi.localIP());
// Serial.println("Setup done");
// Serial.println("");
// WiFi.disconnect();

for (wifiTestFreq = 0; wifiTestFreq < 1; wifiTestFreq++)
{
    Serial.println("scan start");

    // WiFi.scanNetworks will return the number of networks found
    int n = WiFi.scanNetworks();
    Serial.println("scan done");
    if (n == 0)
    {
        Serial.println("no networks found");
    }
    else
    {
        Serial.print(n);
        Serial.println(" networks found");
        for (int j = 0; j < n; ++j)
        {
            // Print SSID and RSSI for each network found
            Serial.print(j + 1);
            Serial.print(": ");
            Serial.print(WiFi.SSID(j));
            Serial.print(" (");
            Serial.print(WiFi.RSSI(j));
            Serial.print(")");
            Serial.println((WiFi.encryptionType(j) == WIFI_AUTH_OPEN) ? " " : "*");
            delay(10);
        }
    }
    Serial.println("");

    // Wait a bit before scanning again
    delay(2000);
}

Serial.println("--Over--");


Serial.println("--Over--");

Serial.println();
Serial.println("---------Test Over !!!---------");
}
[/codesyntax]
