
In the previous examples using the Ethernet Shield for the Arduino we controlled an led and an rgb led using pins as outputs but you can also easily monitor the state of an input, in this case we will use a switch
Basically it will be a web page which shows whether the button is on or off.
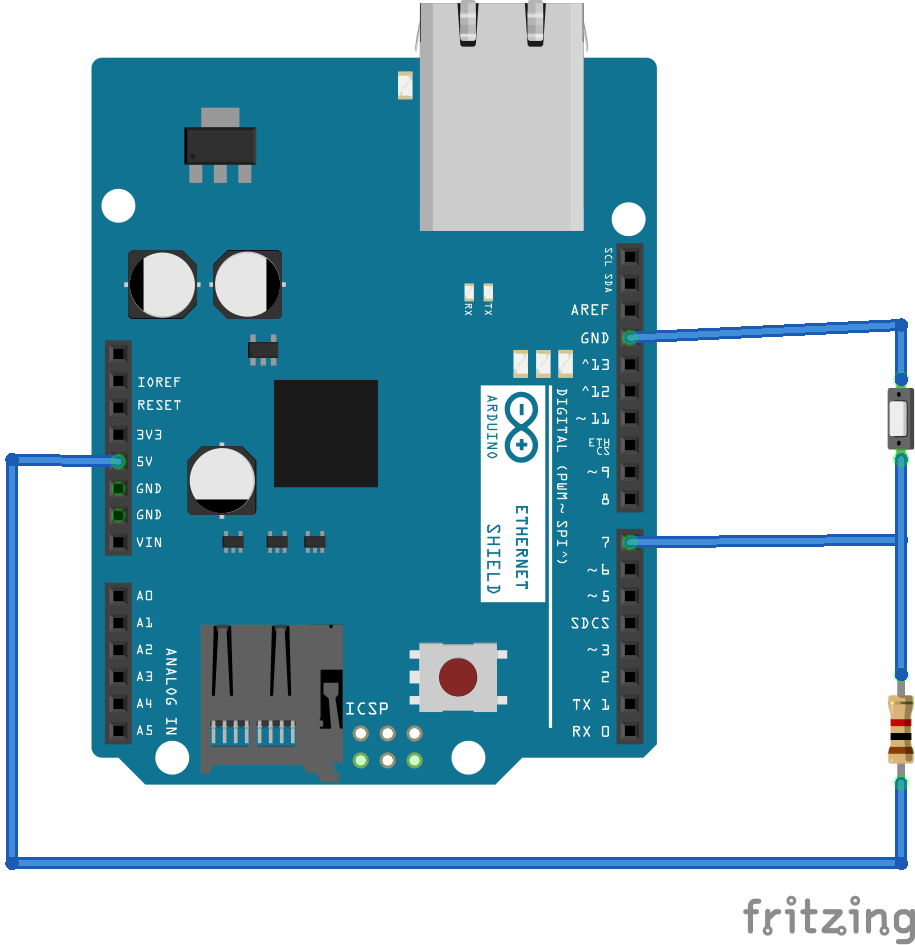
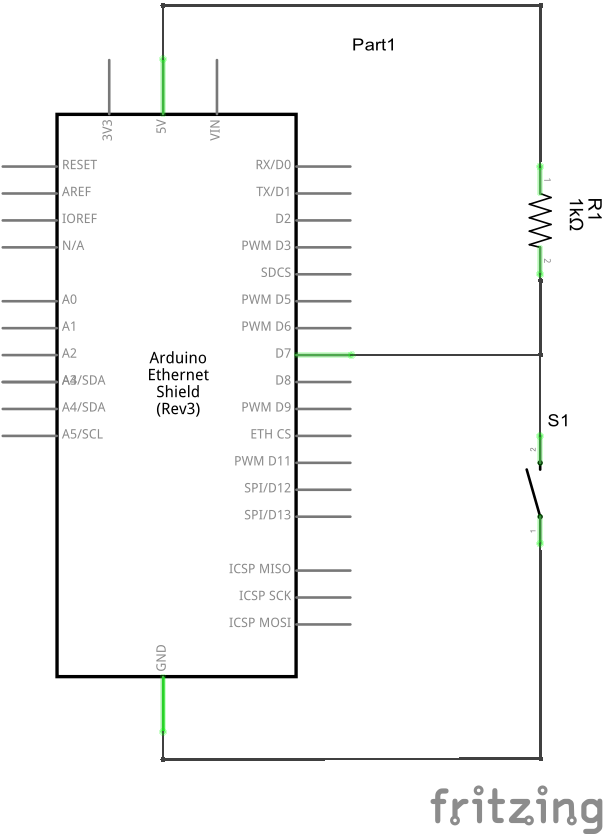
Schematic
Not much too this but here is a schematic and layout for you.
Code
[codesyntax lang=”cpp”]
#include <SPI.h>
#include <Ethernet.h>

#define switchPin 7

// MAC address from Ethernet shield sticker under board
byte mac[] = { 0xDE, 0xAD, 0xBE, 0xEF, 0xFE, 0xED };
IPAddress ip(192, 168, 0, 177); // IP address, may need to change depending on network
EthernetServer server(80);  // create a server at port 80

void setup()
{
    Ethernet.begin(mac, ip);    // initialize Ethernet device
    server.begin();             // start to listen for clients
    pinMode(switchPin, INPUT);  // input pin for switch
}

void loop()
{
    EthernetClient client = server.available();  // try to get client

    if (client)
    {
        boolean currentLineIsBlank = true;
        while (client.connected())
        {
            if (client.available())
            {
                char c = client.read(); // read 1 byte (character) from client
                if (c == '\n' && currentLineIsBlank) {
                    // send a standard http response header
                    client.println("HTTP/1.1 200 OK");
                    client.println("Content-Type: text/html");
                    client.println("Connnection: close");
                    client.println();
                    // send web page
                    client.println("<!DOCTYPE html>");
                    client.println("<html>");
                    client.println("<head>");
                    client.println("<title>Arduino Read Switch</title>");
                    client.println("<meta http-equiv=\"refresh\" content=\"1\">");
                    client.println("</head>");
                    client.println("<body>");
                    client.println("<h1>Switch Example</h1>");
                    client.println("<p>State of switch is:</p>");
                    ReadSwitchState(client);
                    client.println("</body>");
                    client.println("</html>");
                    break;
                }

                if (c == '\n')
                {
                    currentLineIsBlank = true;
                }
                else if (c != '\r')
                {
                    currentLineIsBlank = false;
                }
            }
        }
        delay(1);      // give the web browser time to receive the data
        client.stop(); // close the connection
    }
}

void ReadSwitchState(EthernetClient cl)
{
    if (digitalRead(switchPin))
    {
        cl.println("<p>ON</p>");
    }
    else
    {
        cl.println("<p>OFF</p>");
    }
}
[/codesyntax]
Testing
Navigate to the IP address you specified in the code above
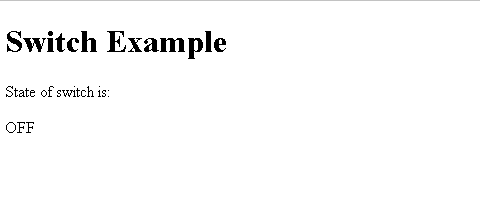
Now toggle the on and off switch and watch the text change
Links
